SOLIDWORKS Composer – How to create a Section View
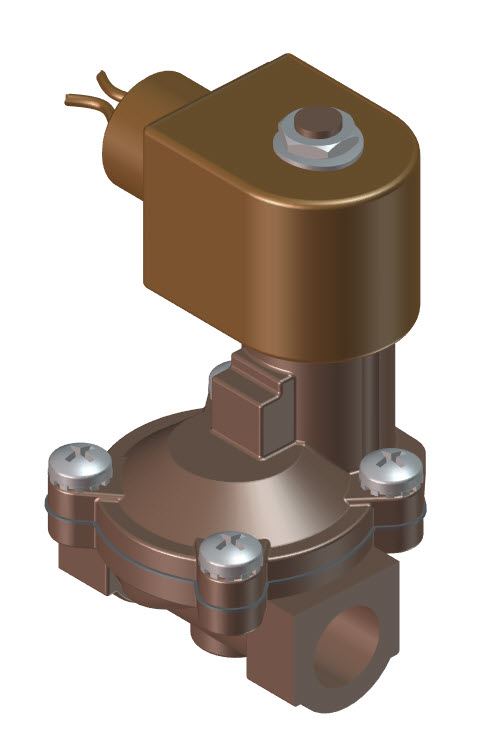
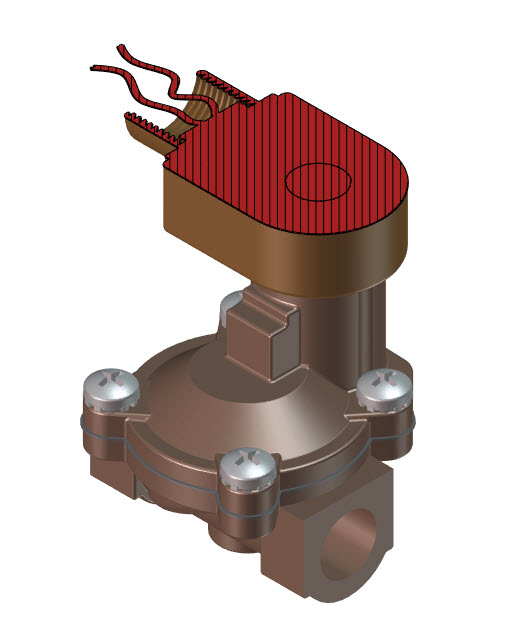
If anyone has taken a SOLIDWORKS Composer class, you’ve run across an exercise of this Solenoid Assembly in Lesson 5.
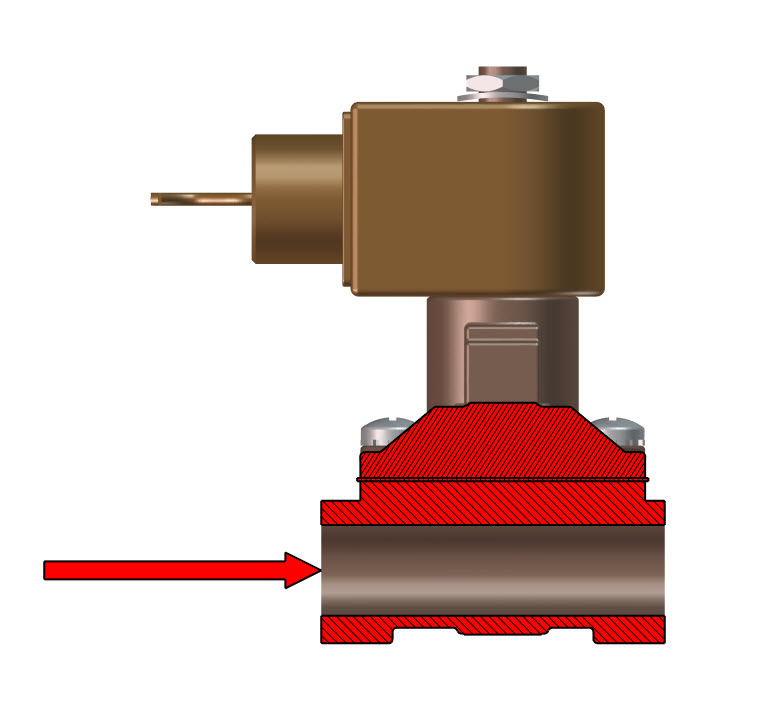
If you look at the Built Parts folder, there is a view of a section view.
How did they do that?? I have the answer……Cutting planes Cutting planes are located in the Author Ribbon Bar.
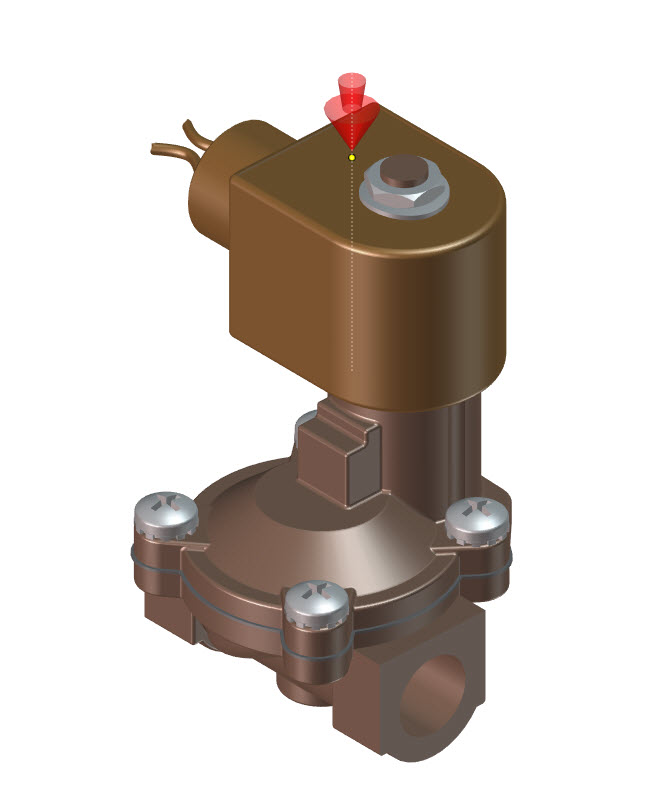
To make a cutting plane, go to Create and select Create from the drop down. Your cursor will now display a large Red arrow.
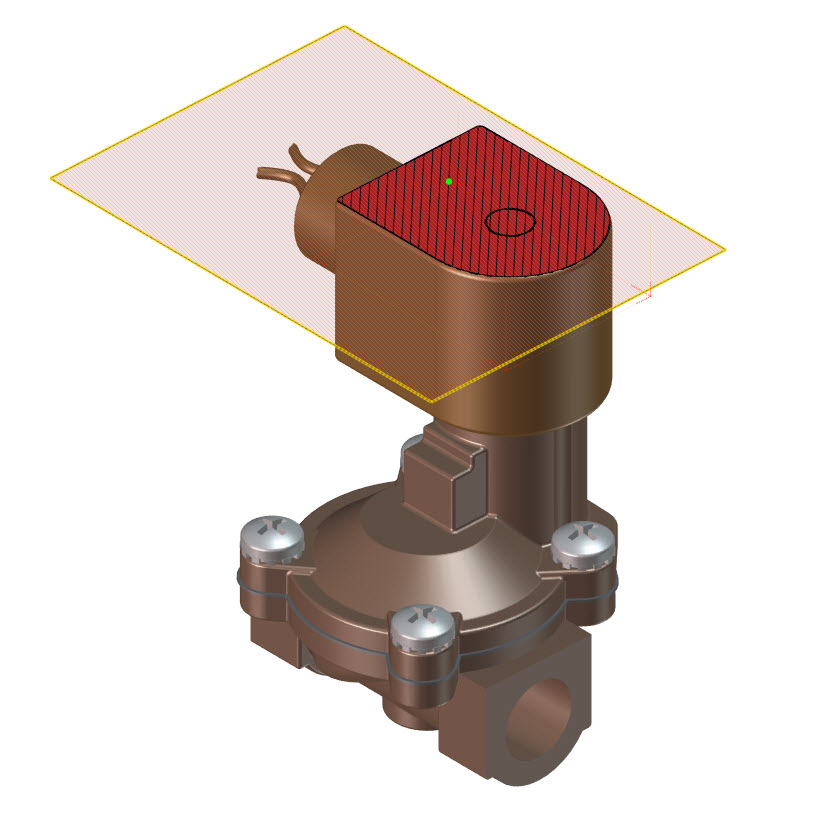
Select a face. The Cutting plane appears and you see your section.
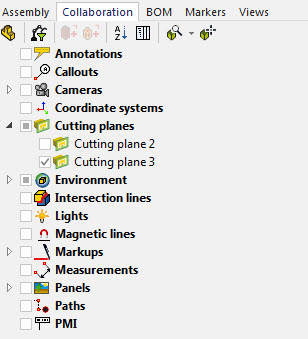
The Cutting planes are located under the Collaboration tab in the Left Pane. The planes have check boxes to hide or show the section.
Now what? What if I need the section view at a specific depth? The secret is in the Properties Pane.
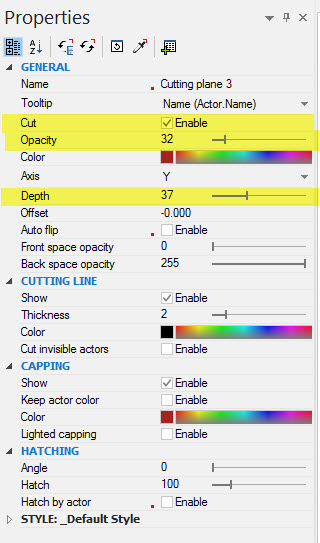
For this example, we will look at 3 properties we will change to display a section view.
Those properties are:
Cut: The default is Enable checked. If you uncheck this box, the cutting plane in not active and there is no section view showing.
Cut Depth: The distance from the plane you originally selected.
Opacity: The Default is to show the cutting plane. This example shows a value of 32.
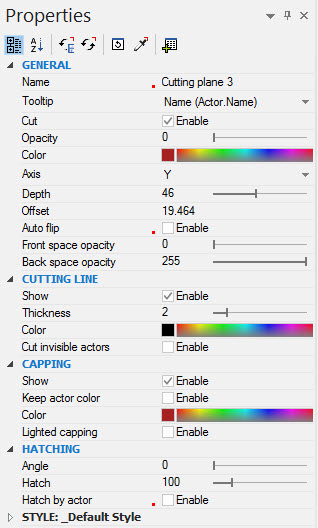
In this example below, the Opacity is changed to 0. This makes the cutting plane hidden. Also changed is the Depth to 46.
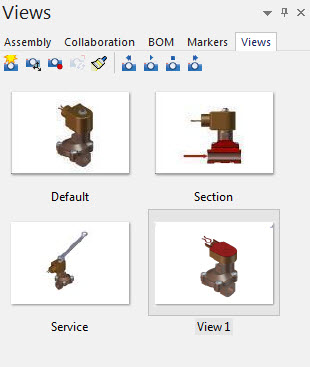
When you section view is complete, go to the Views tab, select Create View 
Happy Illustrating and thanks for reading!
Judy Marlo
Application Engineer
Computer Aided Technology, Inc

 Blog
Blog 