SOLIDWORKS Aligned Views: Do we always want them?
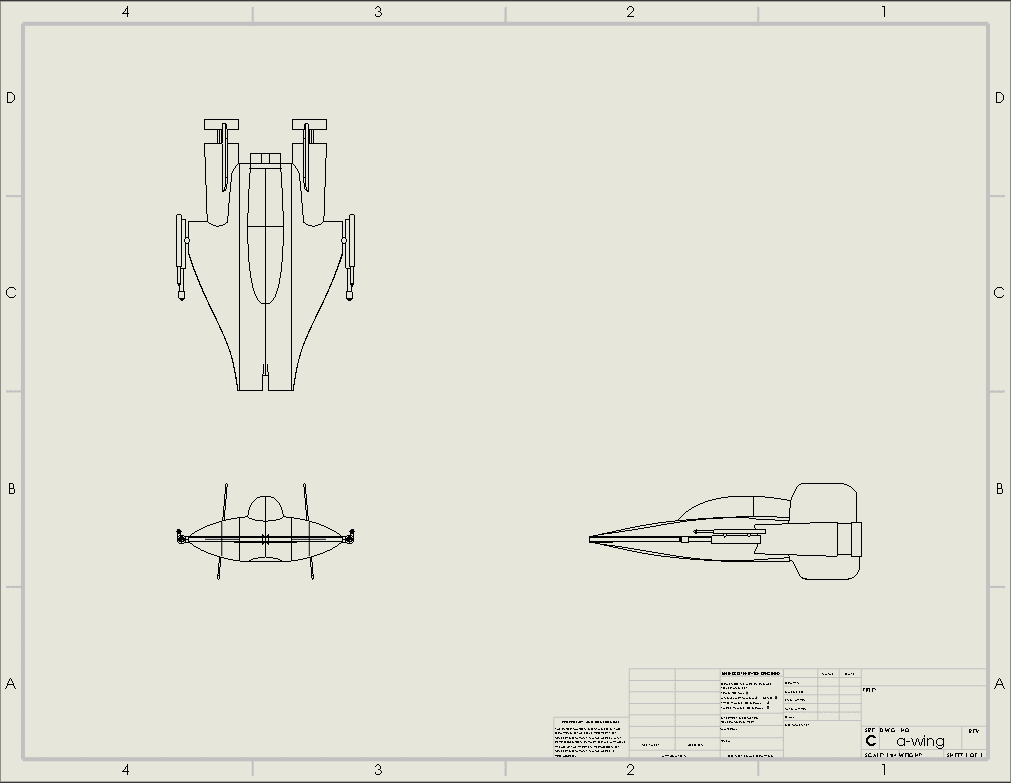
Everyone is familiar with the standard 3 views (Front, Top, and Right) that go in most drawings. SOLIDWORKS is very good at placing the views so that they line up automatically as shown below.
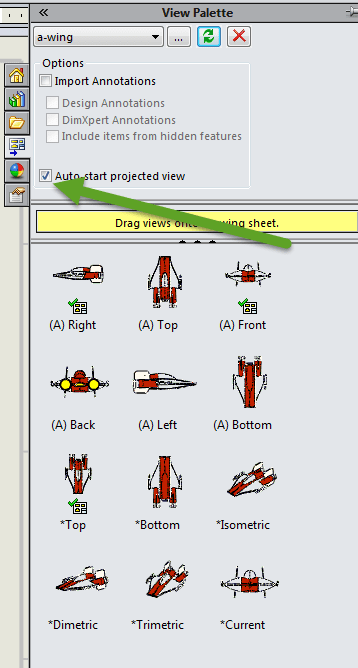
They are perfectly lined up with each other and the movement of the secondary views (Top and Right) depends on the position of the main view (Front). What if we did not want them to line up? SOLIDWORKS will auto-project views from the main view when a view is dragged over from the View Palette in the Task Pane.
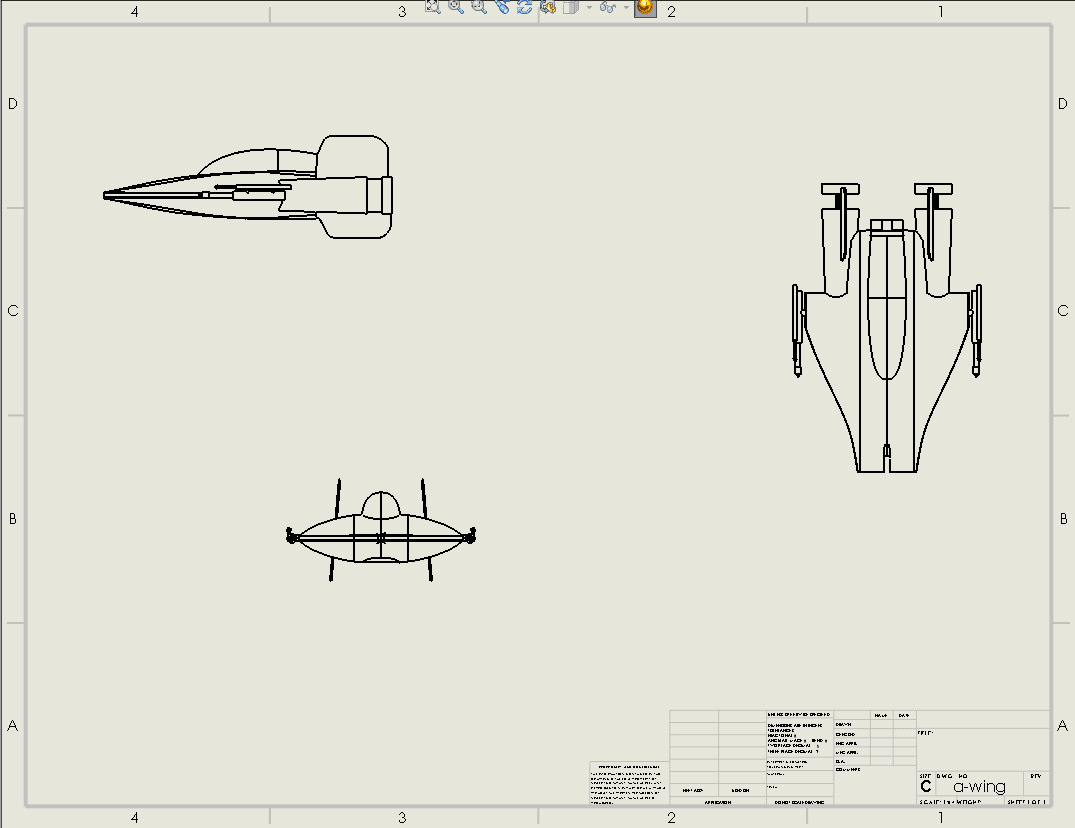
This helps us to add views quickly and easily, but it will automatically align the secondary views with the main view. To workaround to this is to hold down Ctrl while you lay down the views. This will temporarily turn off the alignment until Ctrl is no longer held down. If you release Ctrl before you lay the view down, it will revert to the closest aligned view and reposition it to match.
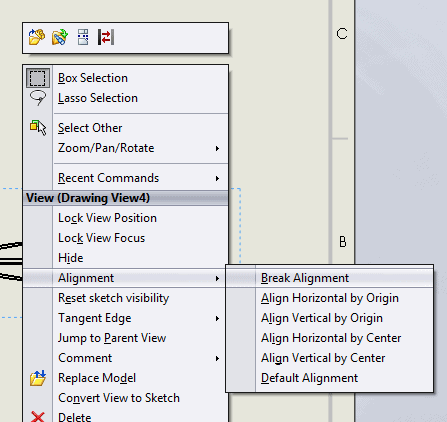
Before holding down Ctrl, the mouse must be moved to a location so that the desired view appears, after which hold down Ctrl and place the view in the desired location. If the views have been placed with annotations added and it is deemed too much work to delete the view and start over, you can break the alignment by right-clicking on a view, go to Alignment/Break Alignment. The view can then be moved to any desired location.
The same location can be used to set alignment the alignment between two different views.
Chad Whitbeck, CSWP
Applications Engineer, CATI

 Blog
Blog 


