SOLIDWORKS Routing Ribbon Cables
Here is a tidbit that you won't find in any training manual on how to combine ribbon cables. First let's get Routing going it's part of the SOLIDWORKS Premium Package.
Where to find it: Tools, Add-ins

For this example I don't have a model to insert the connector into so I will place the connector first then route the ribbon. So to make sure it doesn't start the route when I bring the connector into the assembly I am going to modify my options. (Notice there is a new group of options here that shows up only when Routing is added in.)
Tools, Options, System Options, Routing: Clear the first check box.

Click OK and we are ready to start.
Create a new assembly model.
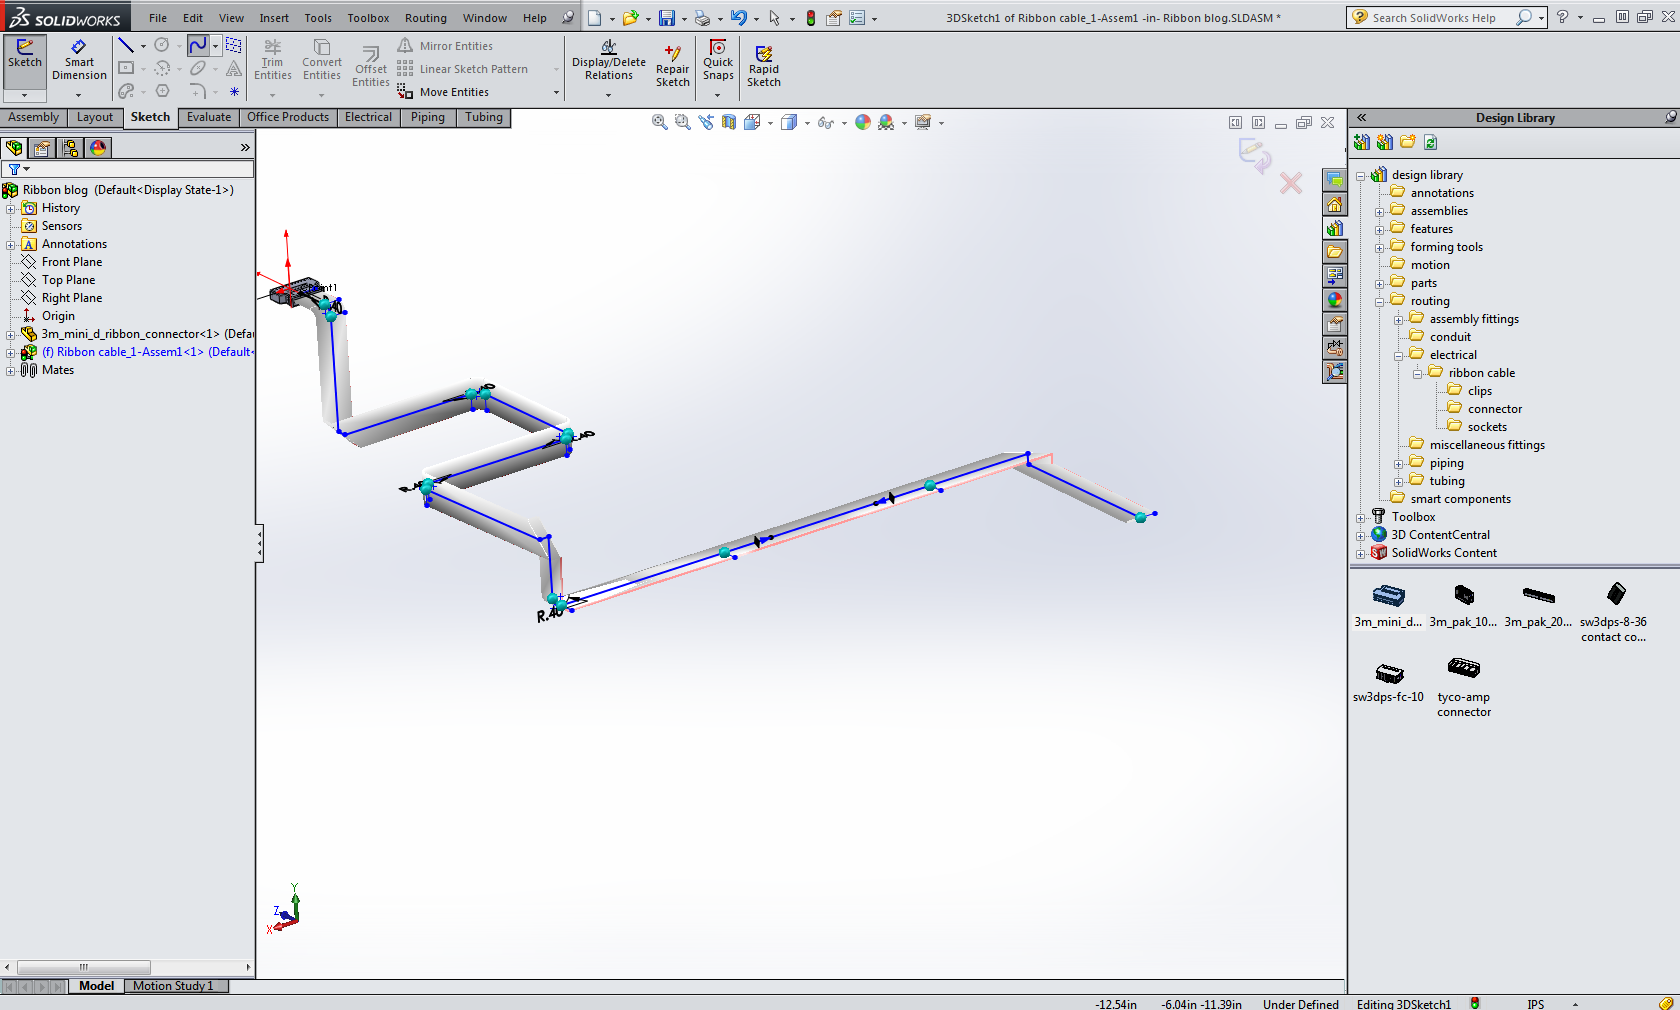
Open your Design Library
The library is pretty limited. However any part from 3D Content Central or other vendor parts can be easily turned into routing components, but that is a lesson for another day.
Open up your Design library and navigate to the ribbon cables folder:

Drag a 3m_mini_d_ribbon_connector out of the library and place it into the model. Mate it into place if you want.

Right Click the connector and choose Start Route.

The routing properties manager will open on the left, just accept the defaults and click the green check.

The Auto Route function will launch next.

Go ahead and pick manual sketch, with the folded option, and draw in some 3D sketch lines. Use the tab key to change orientation.

Here is part of the trick, in a straight section give yourself a few extra points.
Exit the Auto Route.
Then delete the segment between the poins so we can bypass an area with a flexible cable length.

Repair the section by using a spline, in this case I will use a 2 point spline to show another feature.

Right click the spline and insert a new spline point. Select the spline point and you should see a sketcher triad show up like this the image below. Move the point down by draggin the green arrow head down.

Add an additional connector to the open end of the route by dragging it out of the design library and dropping it on the end point of the line.

Exit the sketch and the sub assembly to see the finished route.
John Van Engen
CATI Tech Support