Repairing an Admin Image Installation
How to repair an Admin Image
installation
Every once
in a while it may be required to run a repair on your Solidworks installation
for many reasons.
This can
simply be done through “programs and features” in you windows control panel.
However, if
you have ever tried this from an Administrative image installation, you will
notice that you will not get a “change” option for Solidworks. This is the way
it is designed, one of the reasons for this way of deployment.
So what do
you do if you need to run a repair? Uninstall/re-install usually.
Well, there
is a backdoor to actually run a repair, or even a modify.
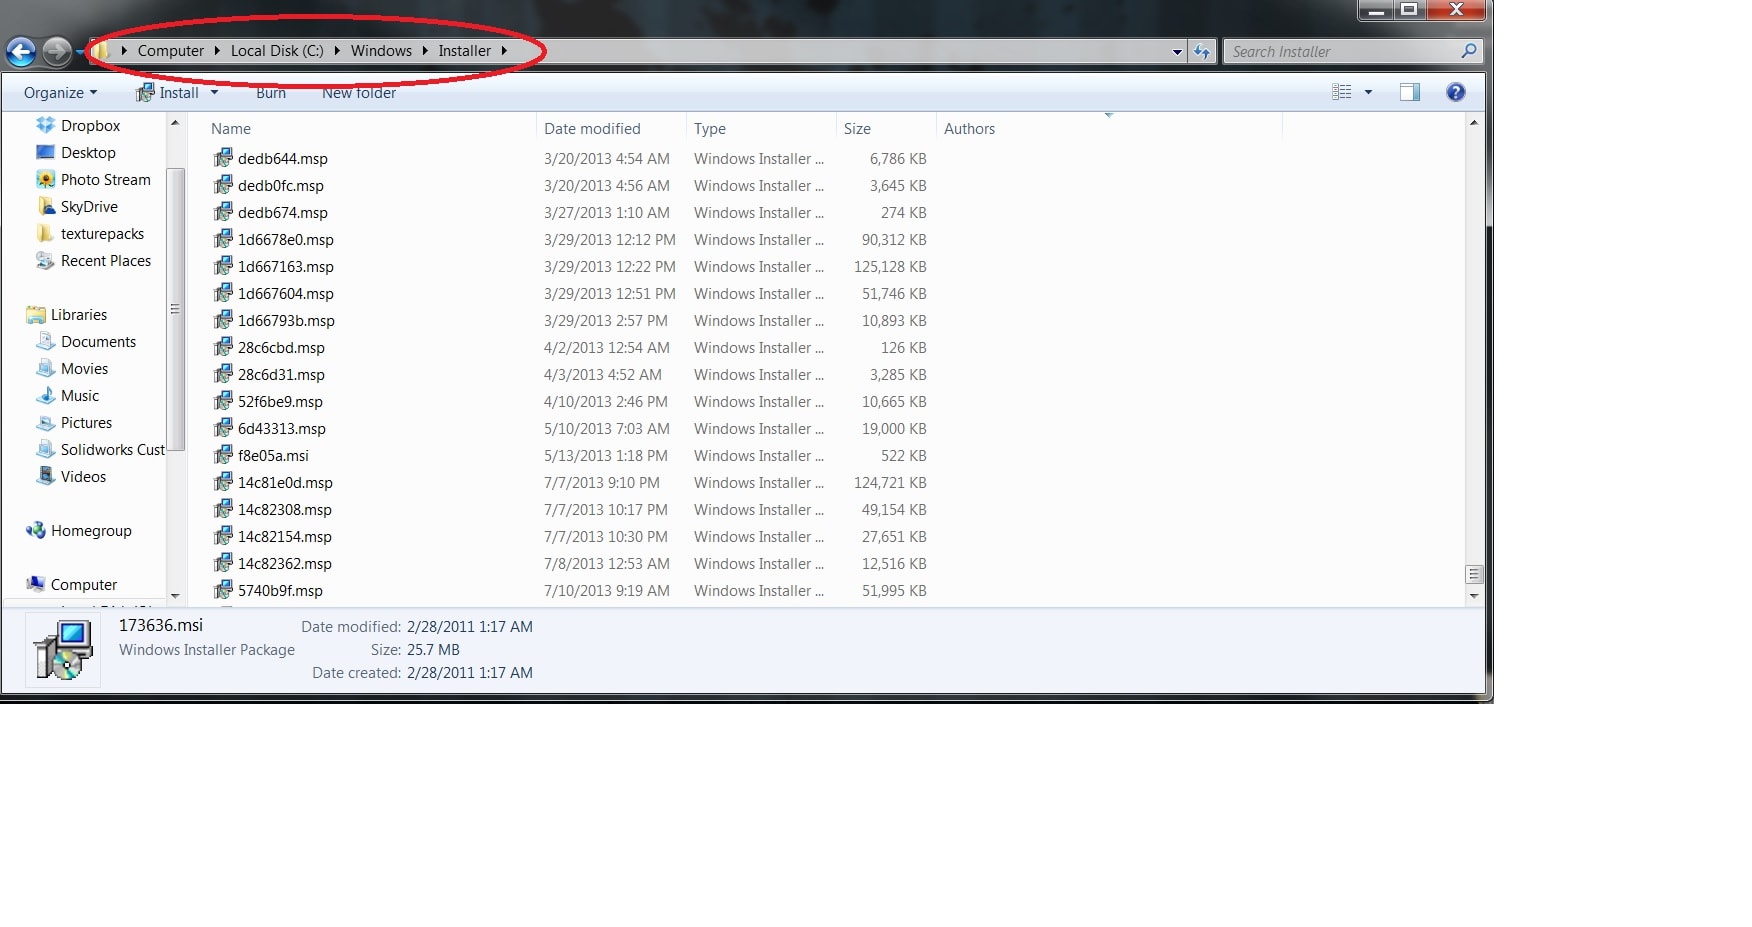
Start by
navigating to the windows directory. Under folder options, turn on “show hidden
files and folders”
Once this is
done, you will see a “Installers” directory. This is where the windows
installer files are kept for installed software.
Unfortunately,
these are pretty cryptic names…not meaning much, so you will have to do a
little modification to find the Soldiworks installer.
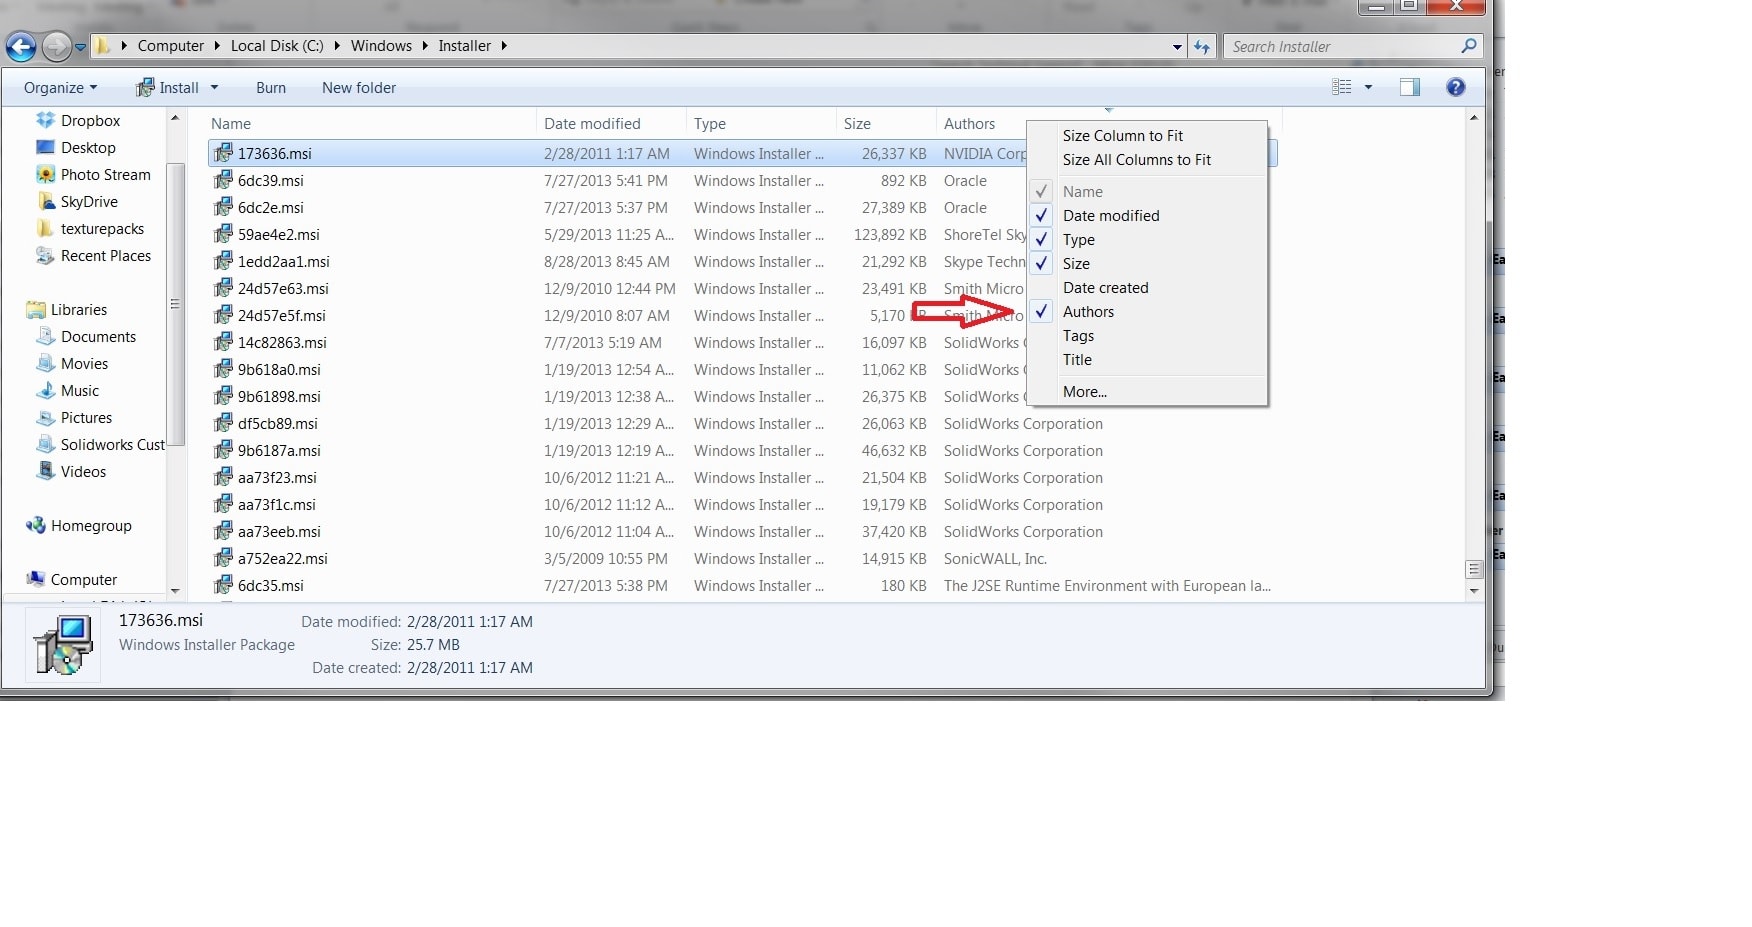
Right click
on the header bar showing the columns.
Add “
Authors”
Then select
the column header to sort by that column.
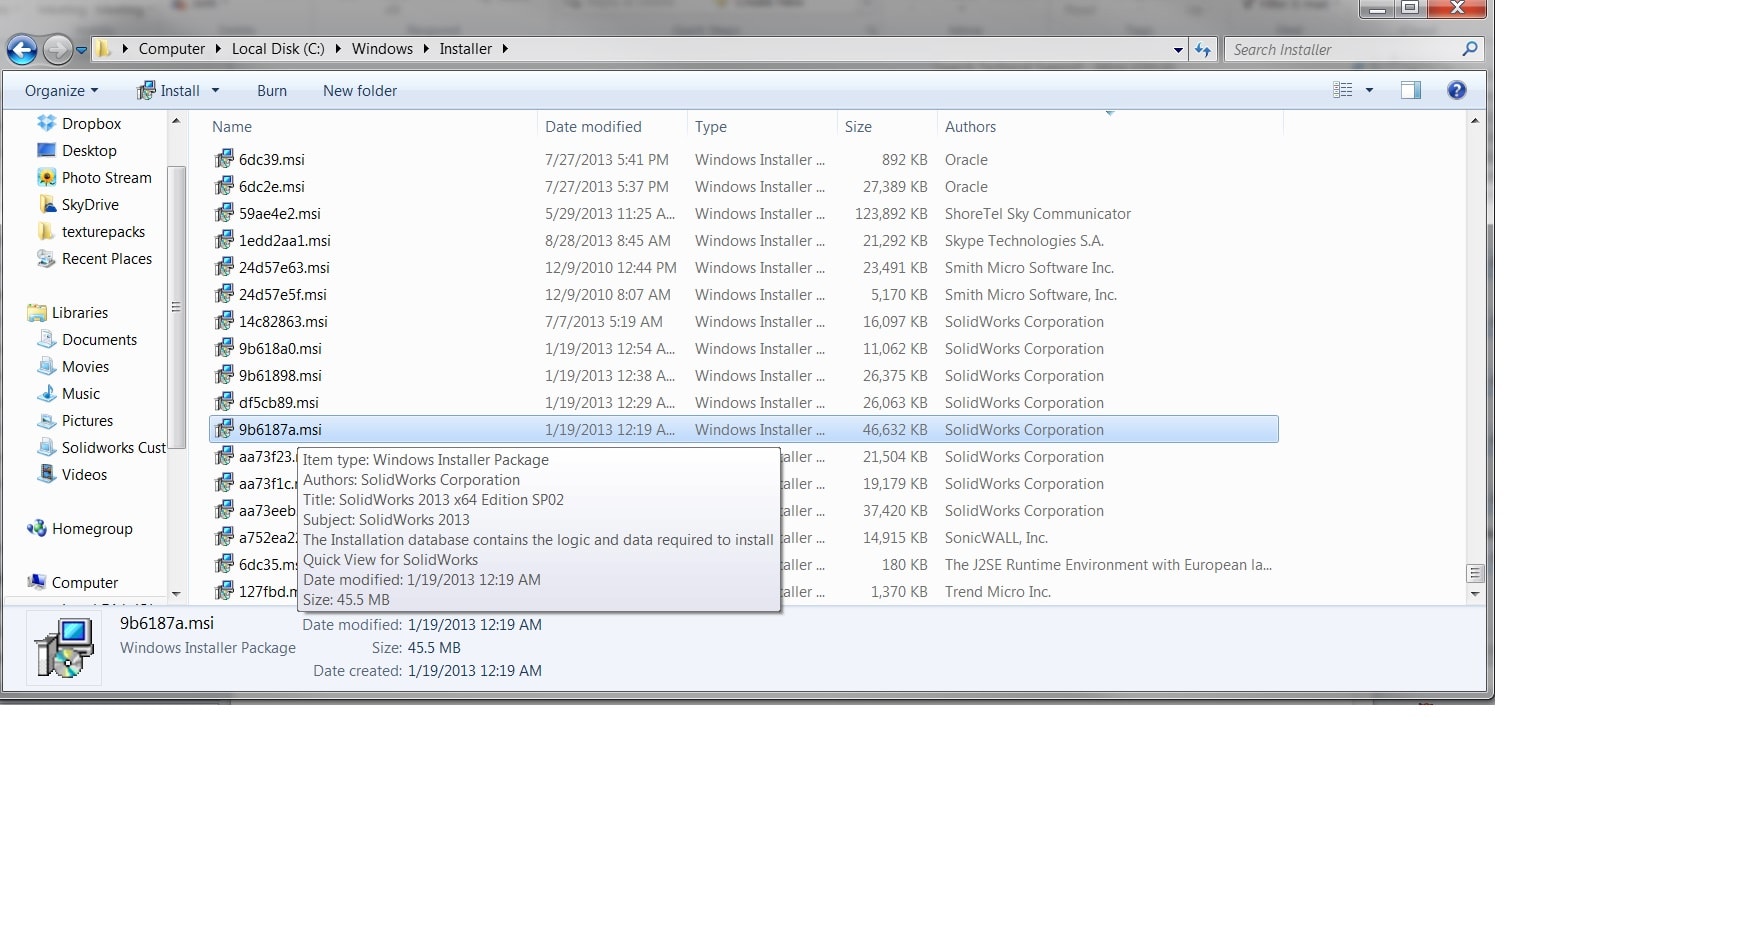
Scroll down
to the SOLIDWORKS section. You will see a few from SOLIDWORKS in here.
Here, we
will need find the Solidwork install itself.
Hover over
the .msi files and it will show the description on them.
Here we show
“SOLIDWORKS 2012 X64 SP2”
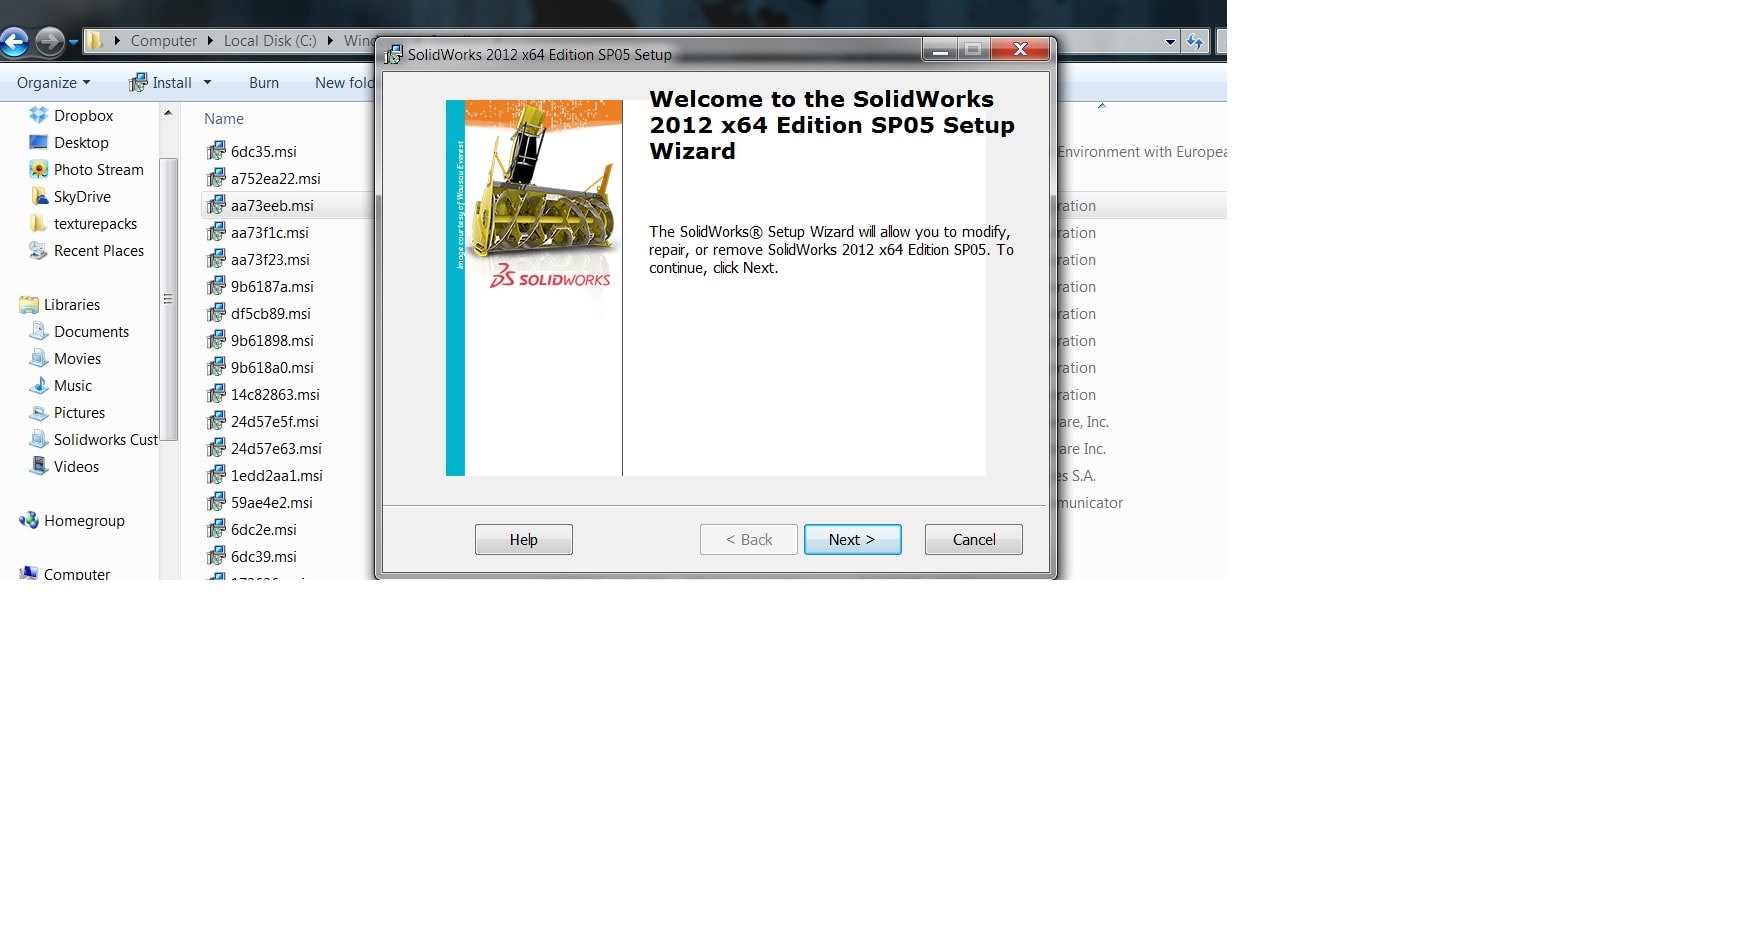
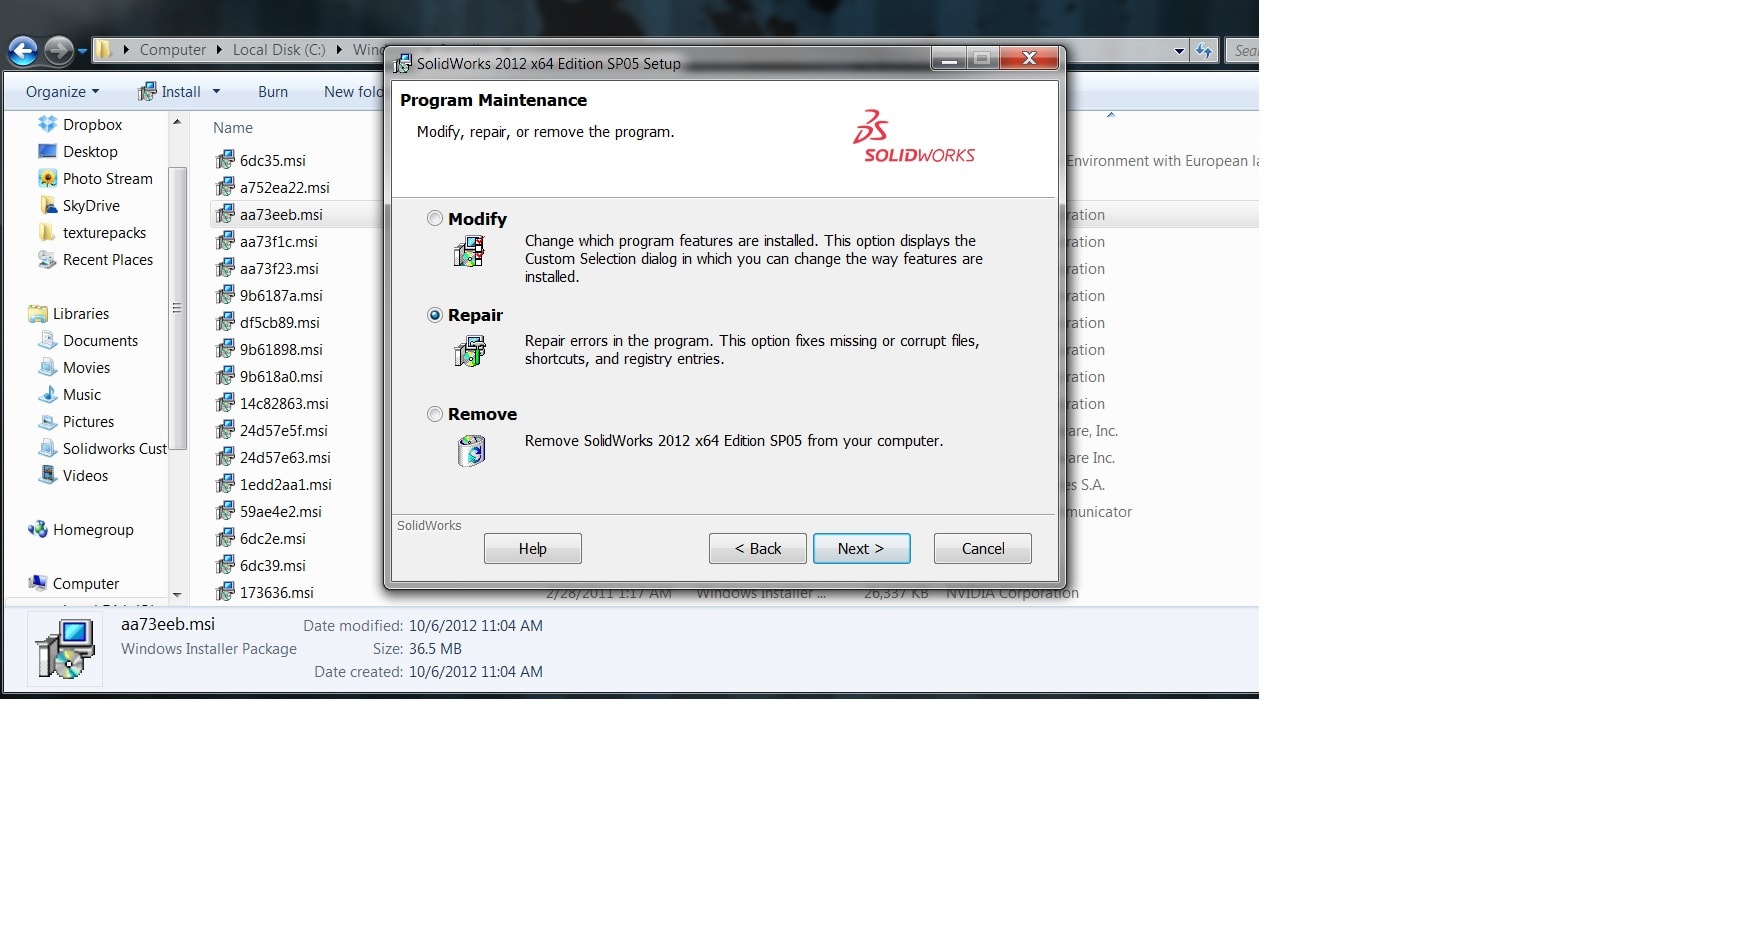
Simply
launch the .msi and Bingo!
You now have
a “Modify” & “Repair” option

 Blog
Blog 