How to Use the New Orientation Dialog Box in SOLIDWORKS 2013
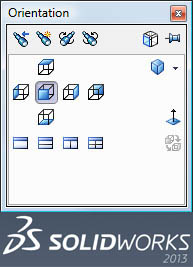
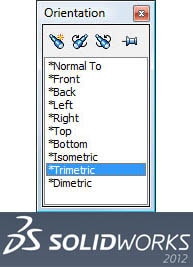
Do you find yourself constantly changing views until you finally find the correct view that you wanted? Well, the Orientation dialog box received a nice new face lift for SOLIDWORKS 2013 that you will find very useful. Simply press the spacebar or to bring up the Orientation dialog box, (or click the View Orientation button in the Heads-up View toolbar and click More Options, or pull down the View menu and pick Modify – Orientation.)
The new Orientation dialog box for SOLIDWORKS 2013 now shares the same buttons for standard views as the Heads-up View toolbar. Another cool new feature in the Orientation dialog box is the View Selector.
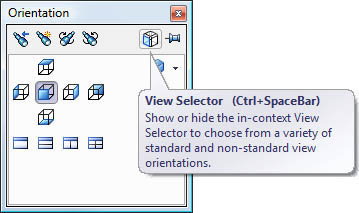
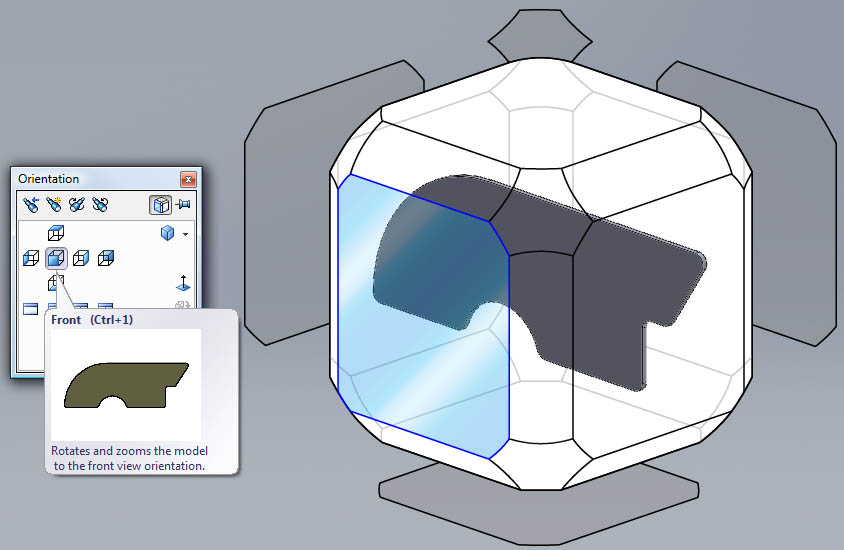
The View Selector gives a very nice visual way to see the model views. If you have trouble visualizing what the right, left, front, back, top, or isometric views of your model will look like, this tool is a great enhancement for you. Click the View Selector button or press Ctrl + Spacebar to bring it up.
It is very simple to use. Simply highlight what view you want, either from the View Selector 3D box or even from the Orientation dialog box. If you hover over the button in the dialog box, a preview of that view appears and the corresponding faces dynamically highlight in the View Selector. When you select o view, the Orientation dialog box closes (unless it is pinned) and the model rotates to that view.
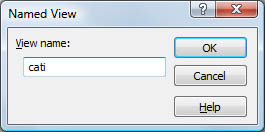
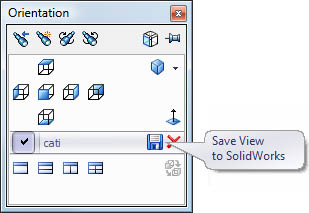
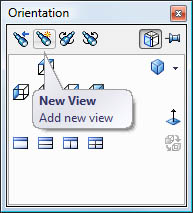
Another enhancement to the Orientation dialog box has to do with saving custom views. You can now create custom views and save them to SolidWorks, which allows you to reuse these saved views in different documents. after rotating you model to the desired view, click New View. Give the view a name and click OK.
The new named view now appears in the Orientation dialog box. This allows you to toggle between any of the standard views and this new custom view. This is not new to SOLIDWORKS 2013. What is new is that next to this new named view is a Save View to SolidWorks button.
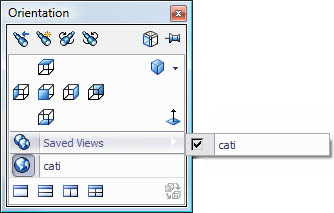
When you click Save View to SolidWorks, a globe icon appears in front of your named view. This indicates that it is now a global view that is now available in other SOLIDWORKS documents. Simply open a different document. Click Saved Views in the Orientation dialog box and click the saved view(s) of your choice. One thing to note is that if you only click the check box, and not the view name itself, the named view is added to to the list of saved views, but the model does not actually rotate to the selected view.
Try it out yourself and see if the new Orientation dialog box, the View Selector, and Save View to SOLIDWORKS will help improve your workflow. SOLIDWORKS 2013 has many great enhancements that will continue to help improve the productivity of SOLIDWORKS users around the world.
Neil Bucalo
Technical Analyst
Computer Aided Technology, Inc.

 Blog
Blog 