Creating a SOLIDWORKS Part and Assembly template with reverse isometric view
I was in the good city of St Louis, MO yesterday and had a great question asked by a gentleman there. “How can I easily create a Reverse Isometric View I need to do that more times than not.
So Here is how you go.
- Open a blank SOLIDWORKS Part/Assembly file.
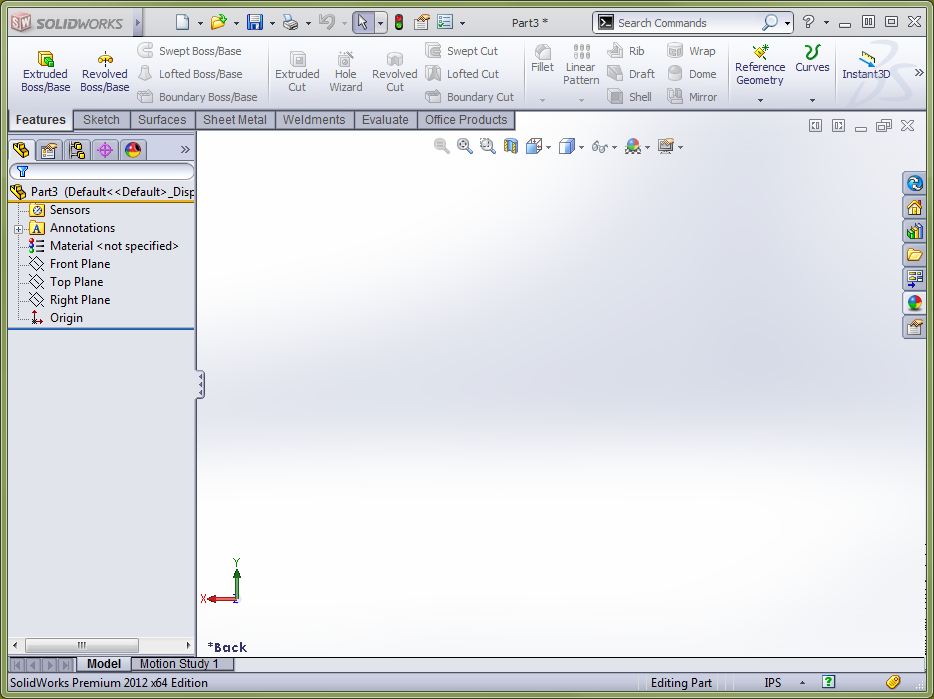
- Hold Control Key and hit the 2 key on the top row of the keyboard. (This will put you in the BACK view)

- Hit your SPACE BAR key ( This brings up the orientations box)
- Single Mouse Click on the word FRONT in this orientations box.
- Click on UPDATE STANDARD VIEWS on the orientations box. ( This will make the current orientation the Front view.
- Double Click *ISOMETRIC (You’ll notice the triad in the bottom left will be in a different orientation
- Hit your SPACE BAR key
- Click on NEW VIEW the orientations box (This will bring up Named View Dialog)
- Name the new view REV ISO
- Click on RESET STANDARD VIEWS the orientations box (This will reset the view to normal)
- Go to File Save As
- Change the Save As Type to Part Template
- Save you new Template


Have fun,
Bob McGaughey, CSWE
Computer Aided Technology, Inc.