Cavity Removal & Replacement

There are times when one would like to remove the cavity from the model and maybe replace it with some other geometry. So how can we do this easily, especially if there is imported geometry in the model?

Lets use a box as a very simple example. (Note: Real world parts are more work, but the basic idea holds true.)
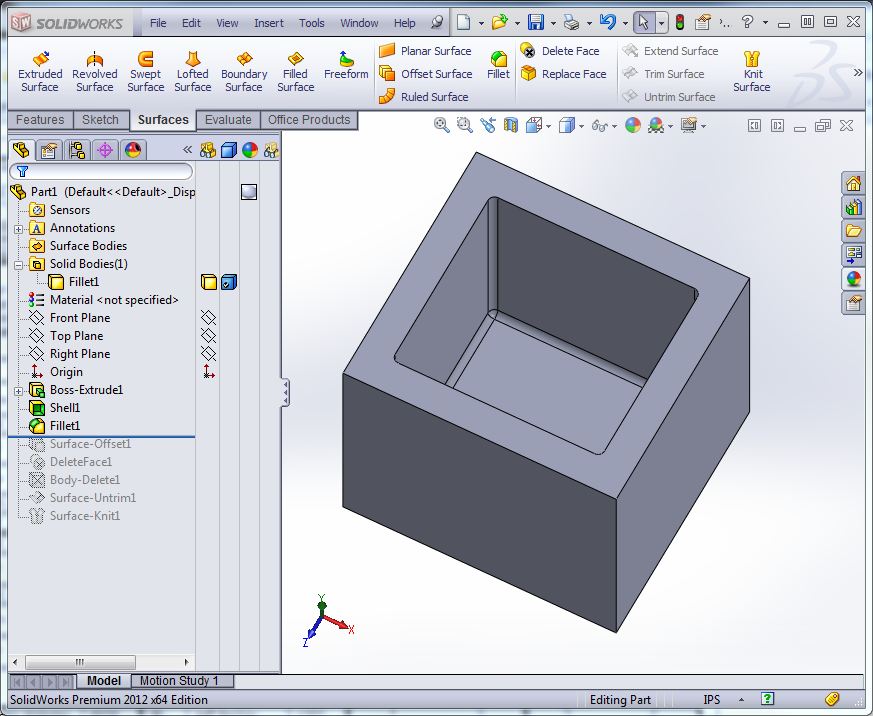
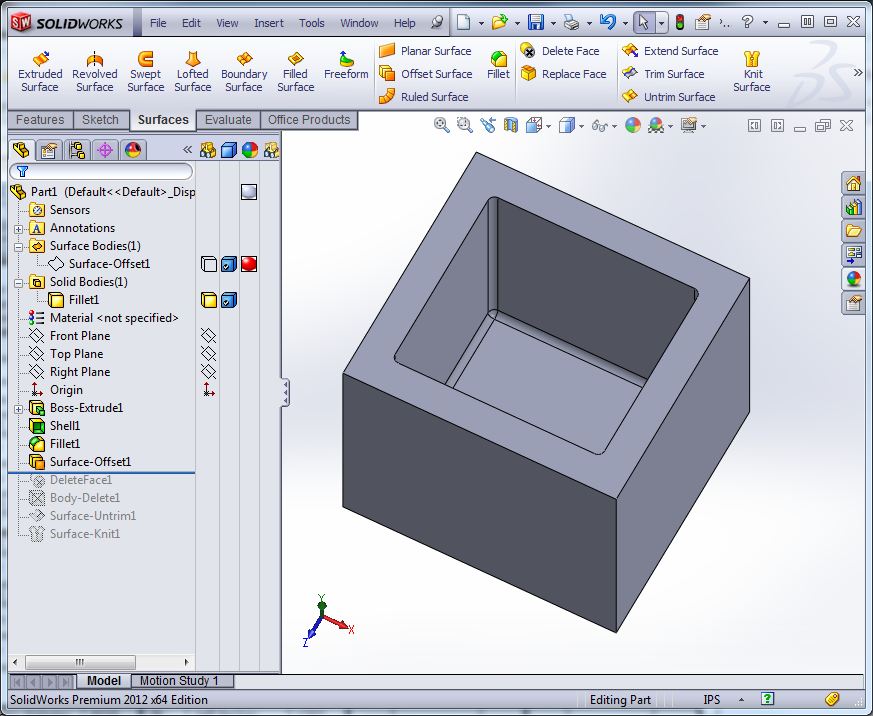
Capture-01So, above is a part with a cavity (pretend it's imported so simply deleting the shell and fillets wouldn't be possible). The goal is to remove the cavity and have a solid cube again…

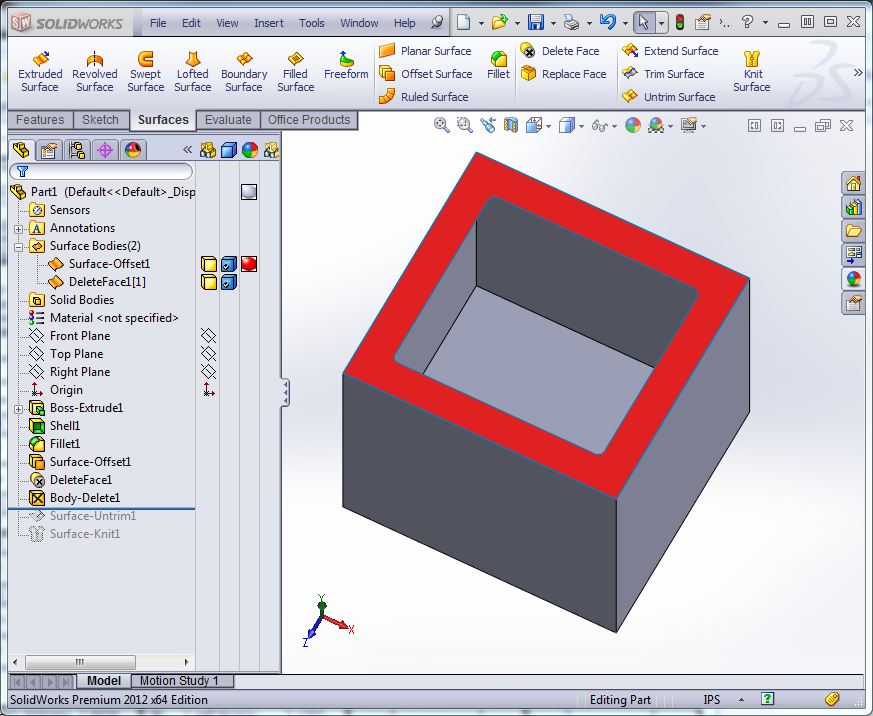
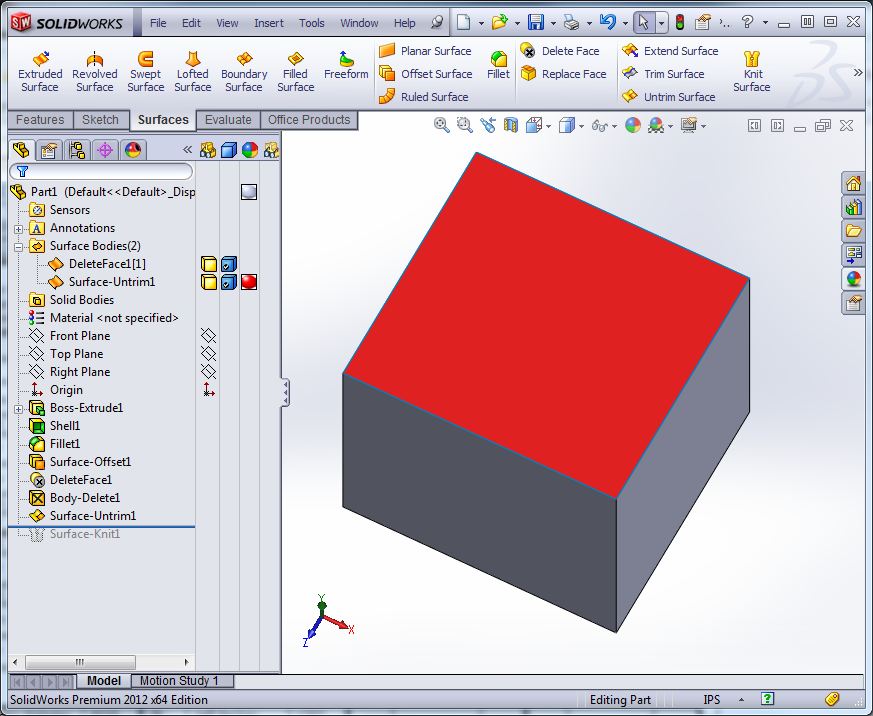
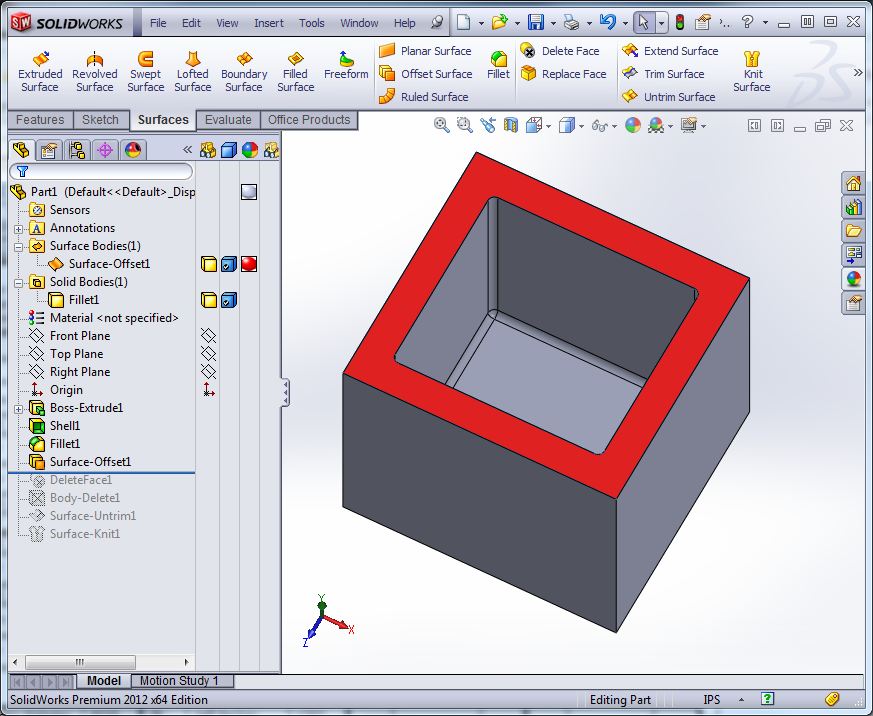
Capture-02First, we'll create an offset surface with an offset value of 0. (I've changed the color to red for clarity.) The surface above in red needs to be the surface(s) that tie the outside of the box to the inside of the box.

Capture-03Once it's created, hide it (the red surface body) we'll come back to it in a bit.

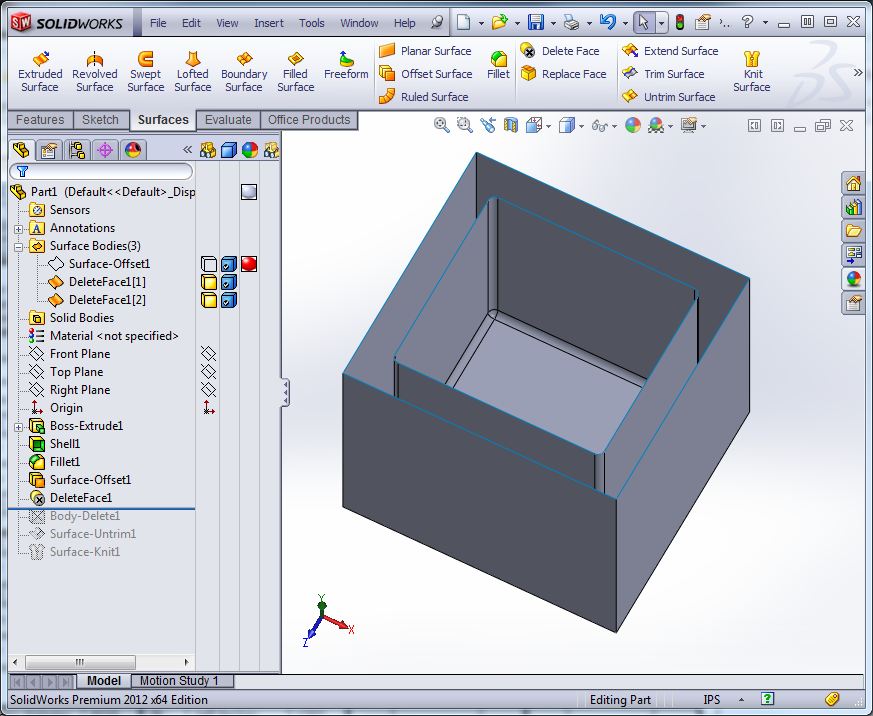
Capture-04Next we delete the face that we just created the offset surface "from". The result of deleting the face is the loss of a solid body and it is replaced with 2 surface bodies (Delete-Face1[1] & Delete-Face1[2]). We've effectivly disconnected the inside from the outside.

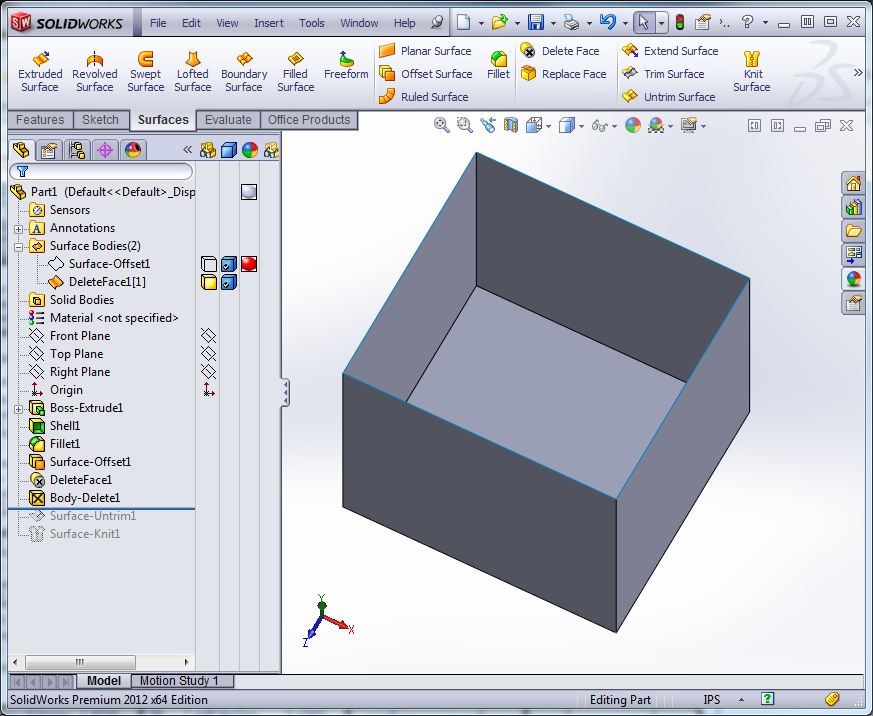
Capture-05Next we can delete the surface body that was the inside or cavity of the part.

Capture-06Here we've turned on the surface we offset with the value of 0. We'll use it to make this model a solid again.

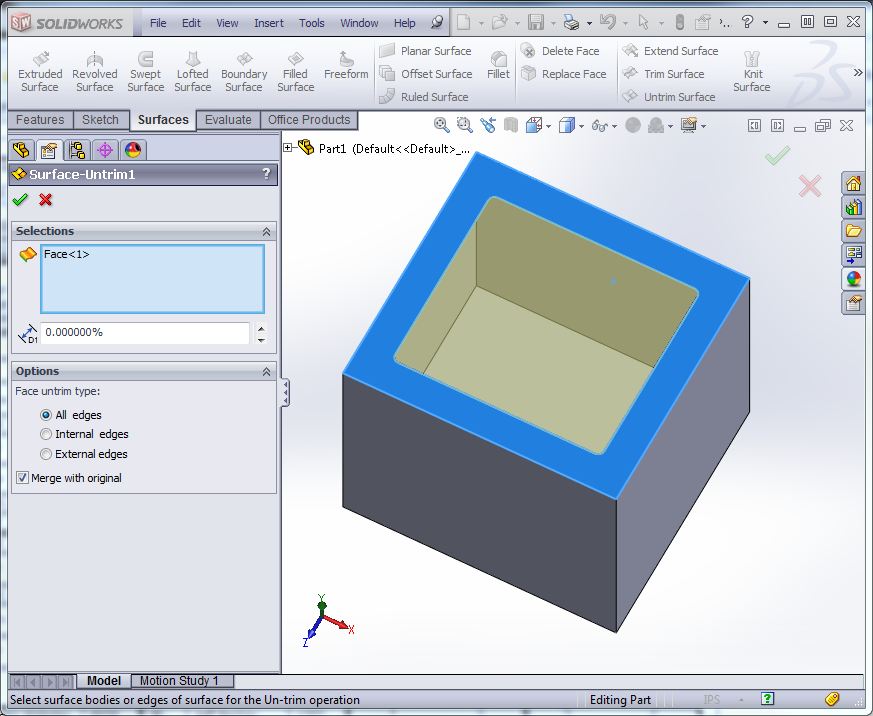
Capture-07Here is the Untrim command in action. We'll use it to fill in the opening in the surface. We could've also just reconstructed the surface manually and in real world parts, untrim and surface construction will likely be necessary to "seal up" the model to make it a solid again.

Capture-08Here is the result of the Untrim surface command.

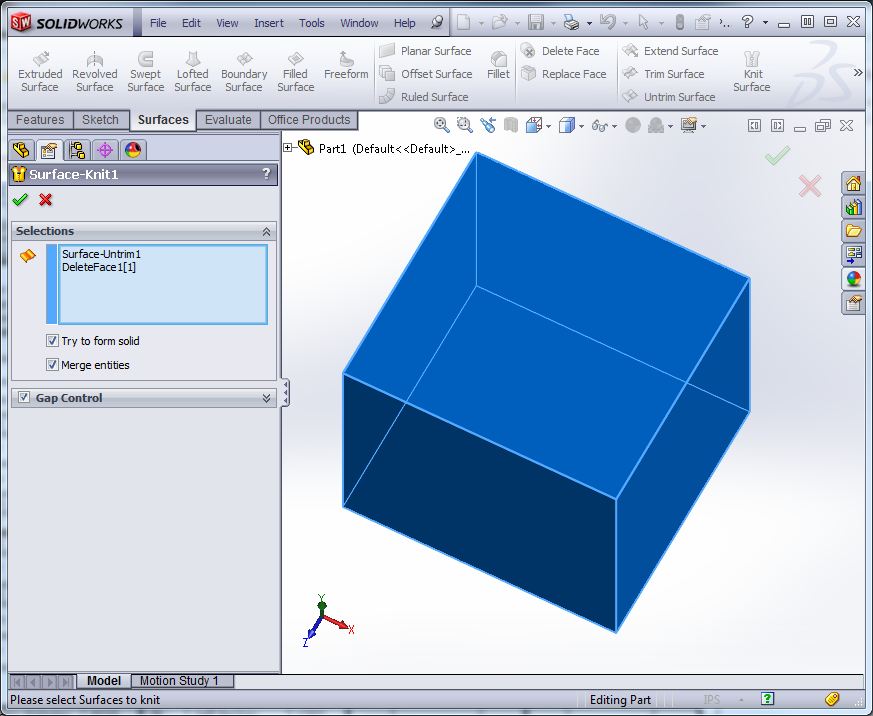
Capture-09Next is the Knit Surface command. I'm using it to turn all the surfaces/surface bodies into a single surface. Note: This also has the option to "Try to form solid". One could also make a second step of this using the Thicken command.

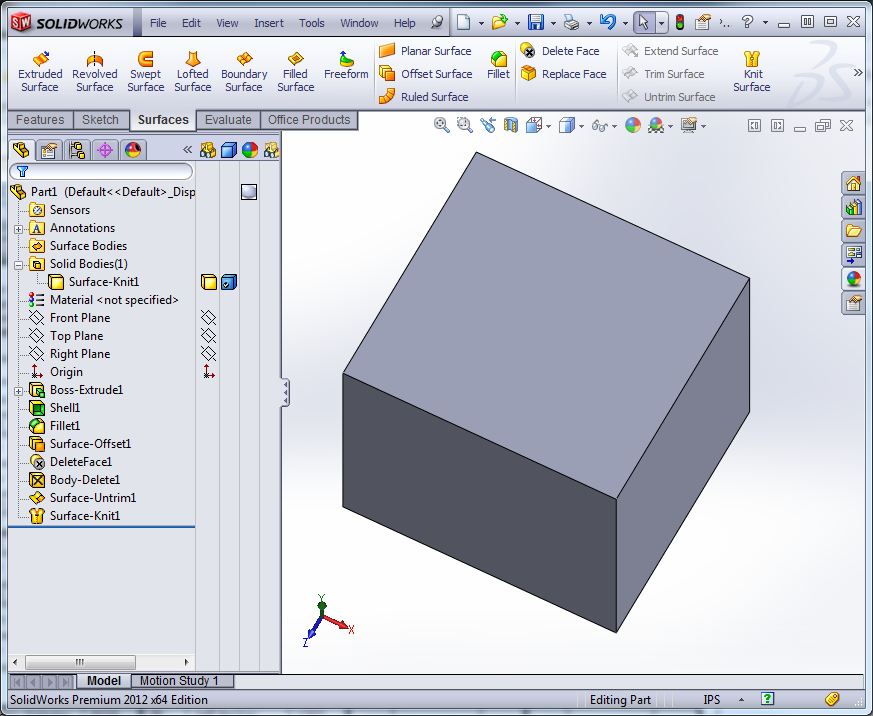
Capture-10Here is the final result, a single solid without the cavity. Now you could either construct a new cavity or consider inserting other geometry via copy and paste or insert part. Then either "Cut with surface" or "Combine" using the subtract option depending on your geometry.

Enjoy!

Here is the example model for review (2012 Model).Download Part1

  • Share this
Find Your Design Solution in the CATI Store.
Browse Products